top of page
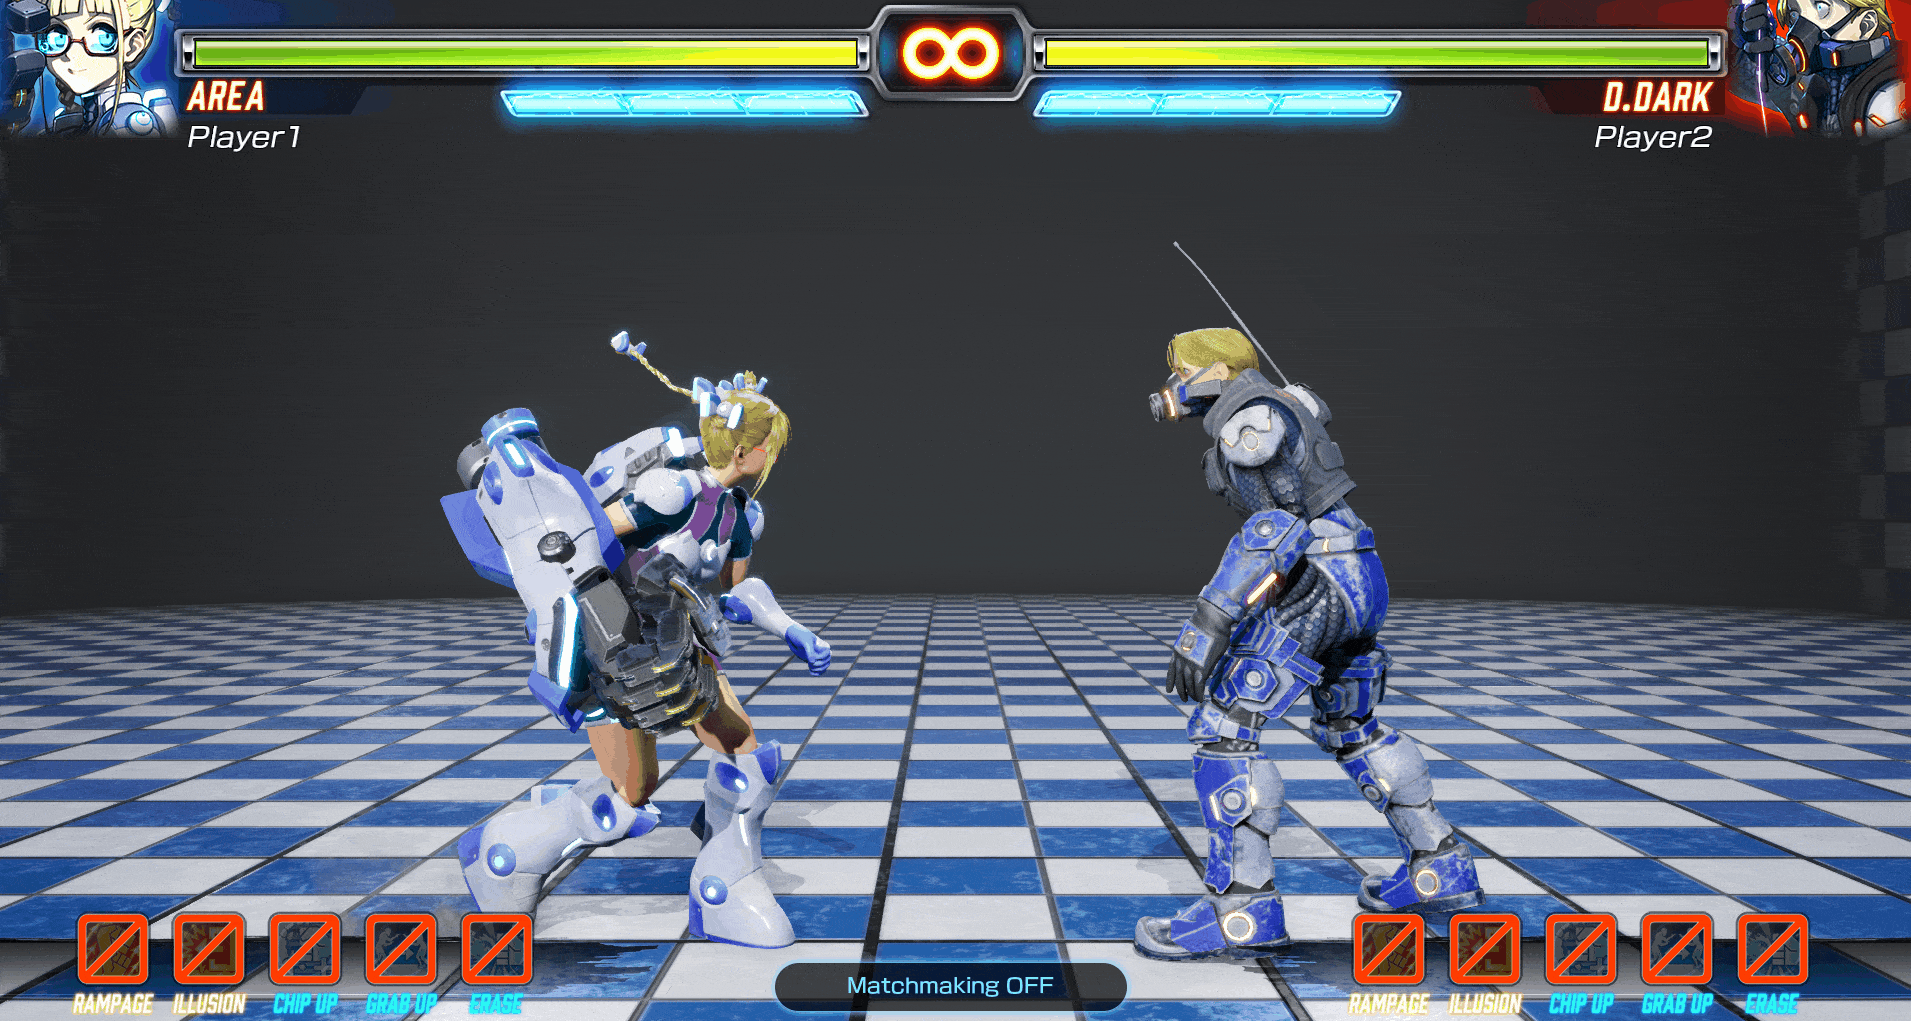
Area


PlayStyle: Aggressive/Setups/Oki
Similar to: Litchi (BBCF)
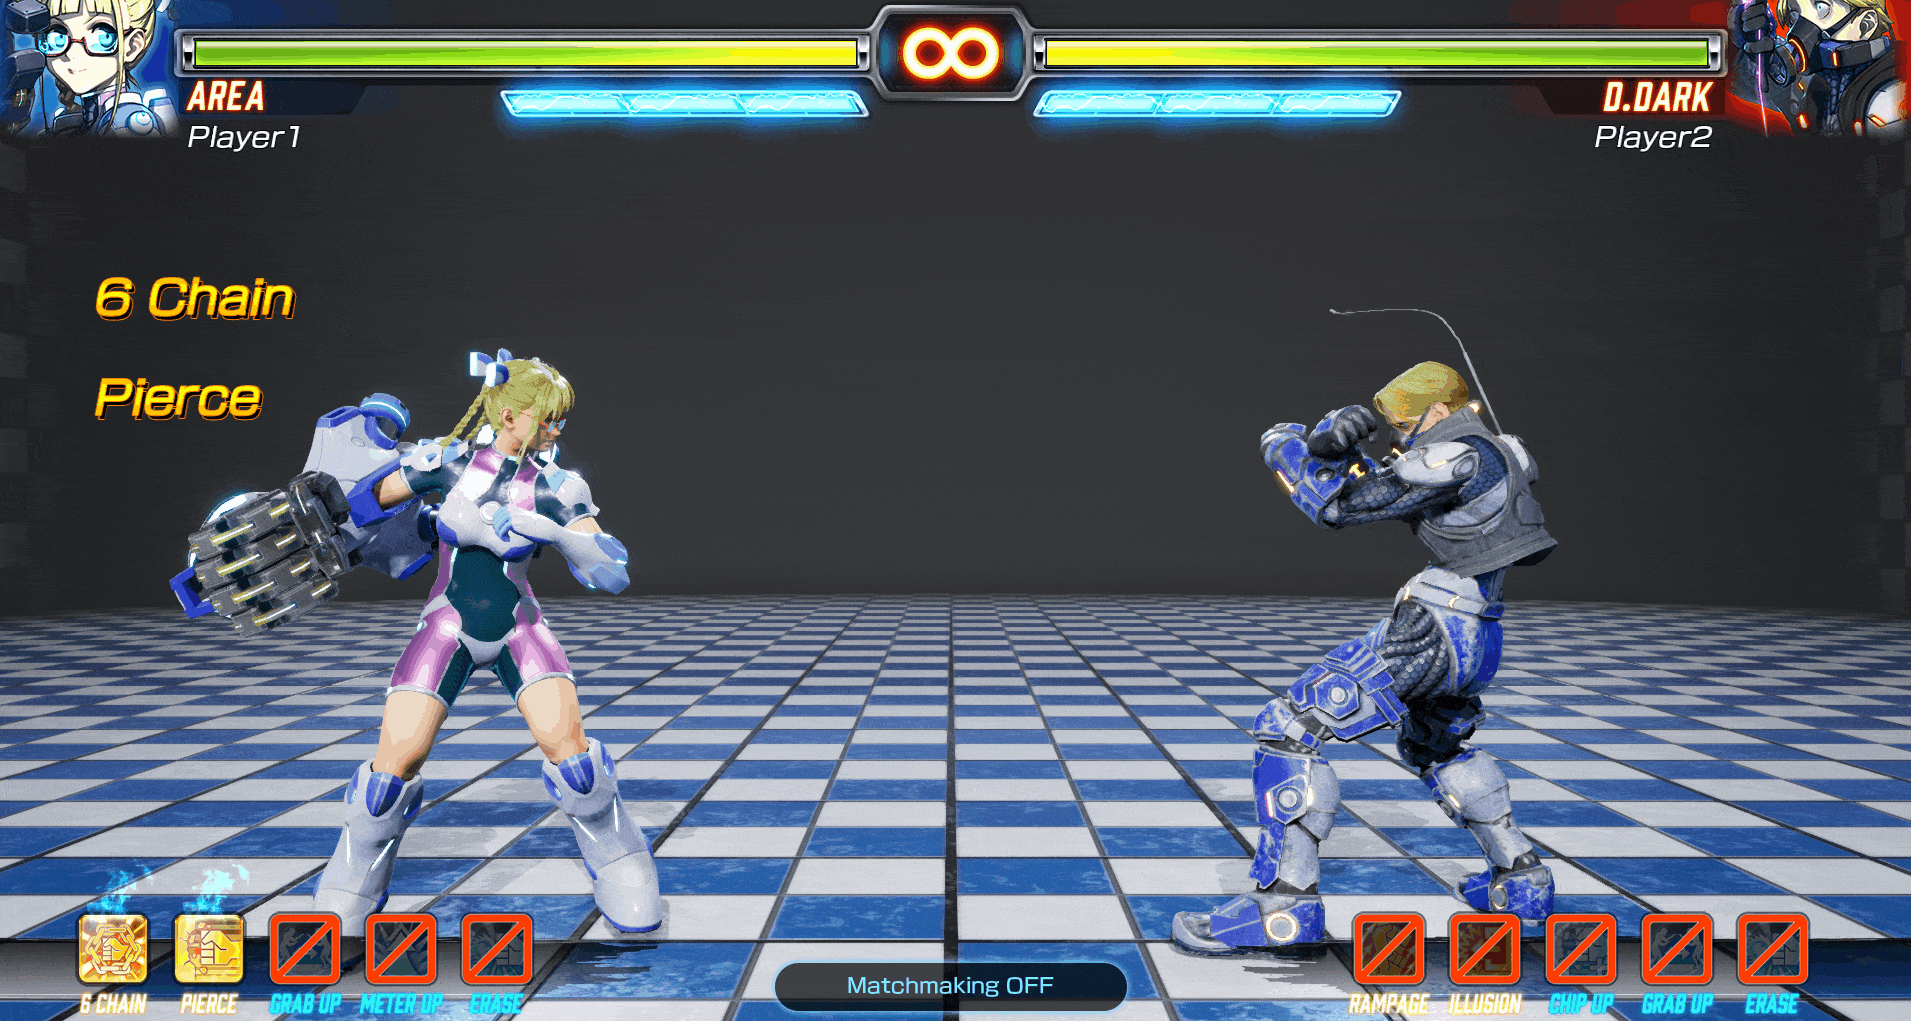
Strengths: Area is for players who love to overwhelm their opponents with pressure and speed. She thrives when she is cornering her opponents, and has many options for okizeme and mixups while the opponent is cornered. Luckily for Area, she has amazing corner carry with combos that end in the drill super. However, one of the main advantages of Area is her damage, especially her one bar damage. A combo into her drill super can do 70-80 damage. She also makes great use of 6 chain decks and Stealth Raptor, which both allow her to further increase her mixup
potential.
Weaknesses: A lot of her options to mix people up are either unsafe (her overheads) or very easy for the opponent to interrupt (her command grab). In addition, she lacks strong defensive options. Her only safe wakeups are her supers, and without meter she cannot do much on wakeup. She also has issues in the neutral because a lot of her buttons will get stuffed by characters with better neutral. Her anti-airing also leads much to be desired. Her main anti-airs are her crouching heavy punch, which is unreliable and can be easily stuffed, and her kick super, which may only hit once for minimal damage. After launching her Cancer out she is at a massive disadvantage because she loses all her medium and heavy punch attacks so you must use it smartly.
Play if: + You like mixing up your opponent
+ You like high damage combos
+ You like merciless pressure in the corner
Avoid if: - You like meterless wakeups
- You like stronger anti airs
- You don't like managing another resource
Recommended Gougi Decks: Aggro, Stealth Raptor, Shinobi, Berserker, Double Face
Max Punish Combos
Meterless: dash st.MP > cr.HP > Jackson Kick > Popup Knee > dash st.MP > cr.HP > Light Humming Rush > Thunder Break (70 Damage)
1 Meter: dash st.MP > cr.HP > Jackson Kick > Popup Knee > dash st.MP > cr.HP > Light Humming Rush cancel on 3rd hit > Great Cancer (91 Damage)
2 Meter: dash st.MP > cr.HP > Jackson Kick > Popup Knee > dash st.MP link into cr.HP > Light Humming Rush cancel on 3rd hit > Fivestar Raid > Great Cancer (95 Damage)
3 Meter: dash st.MP > cr.HP > Jackson Kick > Partition Break > Great Cancer > Fivestar Raid Cancel on 1st hit > Great Cancer (can charge 1 stage) (104 Damage)
Key Normals
Crouch Heavy Punch: Go to solid anti air and goes higher than other characters because of Cancer. However it doesn't lead to much more.
Stand Medium Kick: This is an excellent button to check dash in low with and to buffer into Jackson Kick to whiff punish or counter poke an opponent.
Crouch Light Kick: This attack is how most of your combos will start as her link combos are very weak and limited. Get good at confirming chains starting with this normal.
Crouch Heavy Kick: Completely unsafe on block but has a lot of range and can be made somewhat safer by going into her unique attacks but both are also unsafe so it can be a mindgame if you decide to use this normal more.
Stand Heavy Kick: Has great range and will reach the opponent on round start. Can cancel into Great Cancer on hit, however it will whiff if at max range. A great normal to use for okizeme and if timed a bit late it can have advantage allowing for more pressure.
Key Moves
Upload: Her main projectile that involves shooting her arm off. It goes in a straightline until all 3 punch buttons are released. This move and Download are some of the best “cover me” tools in the game, and pretty much halt the pace of the game until they are off the screen. However, she loses her arm for a bit after using this move, meaning your punch buttons are much weaker and you cannot use some moves.
Download: This is the projectile that can be shot into the ground. Similar to Upload, however this one isbest for the corner when the opponent is knocked down. When Download is used in the corner while the opponent is knocked down, they will have to block. This is her main oki tool.
Humming Rush: The more damaging of her specials. Can end in a shock when all 3 buttons are pressed at the right time. In the corner, doing the shock allows for a safejump while midscreen, only the medium version allows for a safejump.
Alternative Catch: Another one of her mixup tools. She does a jump that, if lands, can do a command grab that does good damage. Can hold a direction to make her kick the opponent to the same side or make them switch sides. Can be interrupted with an attack by the opponent if fast enough.
Combo Examples
Chain Combo
Cr.LK, Cr.MK, Cr.HP, HP Humming Rush
Link Combo
Cr.LP x 3, Cr.LK, Cr.MK, MK Jackson Kick, Great Cancer
Tech
After MK Jackson Kick and Great Cancer you can juggle the opponent more
Using Cancer to setup 6 chain is great for pressure or chip damage
General Strategy
Area’s general strategy involves getting the opponent to the corner as fast as possible. She thrives in the corner, with many options for mixups and okizeme. Once in the corner, Area’s offense and okizeme really open up. When the opponent is knocked down, use Upload to set up a favorable mixup situation. However, outside of the corner, Area’s lackluster neutral tools force her to play an aggressive game. In addition, her defensive options are lacking, so getting your opponent either knocked down or in the corner is essential for success.
Frame Data
Back to Sharon or onto the Hungry Wolf Terry


bottom of page